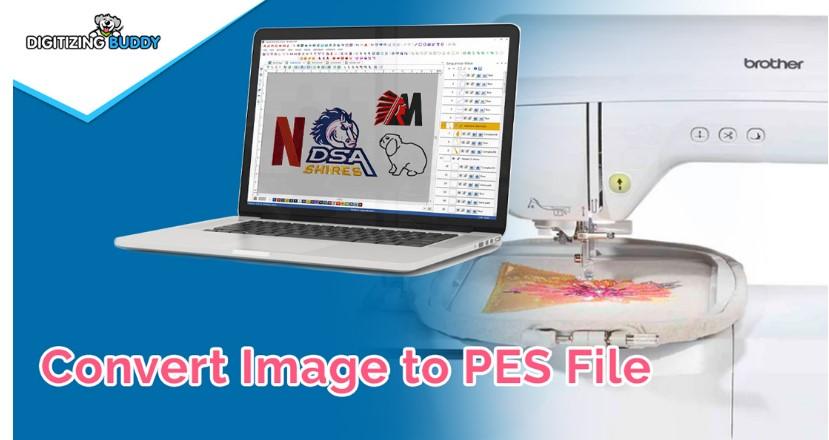
Embroidery can turn a simple picture into something special. A photo, a logo, or a sketch can become thread on fabric. It may look hard at first. But with the right steps, it becomes simple and fun.Many beginners want to Convert Image to PES File so they can stitch on Brother machines.
This step is not just a file change. It is a full process. The image must be cleaned. It must be shaped for stitches. If you skip steps, the design will not stitch well. I have seen this many times in real jobs.In this guide, I will share what works. I will share what to avoid. These tips come from real shop work. They are easy to follow. They help you get clean and smooth results.
What Does It Mean to Turn a Picture into Embroidery?
A picture is made of pixels. Embroidery is made of stitches. Pixels and stitches are not the same.
A machine cannot read a JPG or PNG file as stitches. It needs a stitch file. That file tells the machine:
This step is called digitizing.
Why Good Preparation Matters
Many people think they can just upload a picture and press start. That does not work well.
If the image is messy, the stitches will be messy. If the colors are too close, the design will look dull. If the lines are too thin, they may not show on fabric.
I learned this the hard way. In my early days, I used a low-quality logo from a client. It looked fine on screen. But when stitched, the text broke apart. Since then, I always prepare the image first.
Step 1: Choose the Right Picture
Not all pictures are good for embroidery.
Pick Clear Images
Choose images with:
-
Bold lines
-
Solid shapes
-
Fewer colors
-
Clear edges
Avoid blurry photos. Avoid tiny details. Small details are hard to stitch.
Keep the Design Simple
Simple designs stitch better. They look clean. They also run faster on the machine.
If the picture has too many shades, reduce them. Stick to 4 to 6 colors when you start.
Step 2: Clean the Artwork
Before digitizing, clean the image.
Remove Extra Details
Delete shadows. Remove gradients. Take out tiny dots.
Embroidery does not need photo-level detail. It needs strong shapes.
Convert to Vector Format
Vector art is better than pixel art. It keeps edges smooth. It allows easy resizing.
Programs like Illustrator or CorelDRAW can help with this step. Clean vector art makes digitizing easy and accurate.
Step 3: Understand Stitch Types
Not all stitches are the same. Each type has a purpose.
Satin Stitch
-
Good for letters
-
Good for borders
-
Smooth and shiny
But it should not be too wide. Very wide satin stitches can snag.
Fill Stitch
-
Good for large areas
-
Strong and firm
-
Uses pattern lines
Fill stitch needs the right density. Too much density makes fabric stiff.
Running Stitch
-
Good for outlines
-
Good for small details
-
Light and simple
Choose the right stitch for each part of the design.
Step 4: Set the Right Size
Size matters a lot in embroidery.
If you shrink a design too much, details get lost. If you enlarge it too much, stitches may spread apart.
Always decide the final size before digitizing. Do not rely on resizing later.
Step 5: Use the Right Stabilizer
Stabilizer supports the fabric.
Cut-Away
Best for stretch fabric like t-shirts.
Tear-Away
Good for firm fabric like caps and bags.
Wash-Away
Used for thin or clear items.
I always match stabilizer with fabric type. This stops puckering and keeps stitches flat.
Step 6: Test Before Final Stitch
Never skip testing.
Make a Sample Stitch
Use scrap fabric. Use the same thread and stabilizer. Stitch the full design.
Check:
-
Are stitches smooth?
-
Is the tension balanced?
-
Does the fabric pucker?
-
Do colors look right?
Testing saves time and money.
Common Problems and How to Fix Them
Even good designs can face issues.
Thread Breaks
This can happen due to:
-
High density
-
Bad thread
-
Old needle
Lower density. Change needle. Use good thread.
Puckering Fabric
This happens when:
Use stronger backing. Adjust tension. Hoop fabric flat.
Gaps in Design
Gaps may show if:
Add pull compensation in digitizing software. Adjust angles for better coverage.
Why Professional Digitizing Helps
Some designs are simple. Some are complex. Logos with small text or sharp corners need skill.
That is why many businesses trust Embroidery Digitizing Services in USA - Digitizing Buddy. They have real shop experience. They test files before sending them out. They adjust stitch paths to reduce trims and thread breaks.
I have seen the difference between auto-digitized files and expert-made files. Expert files run smoother. They look clean. They save time on the machine.
If you want clean and safe results, expert help can be a smart step.
Real Experience From the Field
In one project, a client sent a photo with many shades and shadows. It looked nice on screen. But it was not stitch-ready.
We reduced colors. We removed small details. We changed thin lines to satin borders. After that, the design stitched clean.
This is what experience teaches. Not every picture should stay the same. It must change to fit thread and fabric.
This is also why brands like Embroidery Digitizing Services in USA - Digitizing Buddy focus on stitch logic, not just file format. They plan stitch order. They control density. They check each path.
That is how trust is built in this field.
Tools You May Need
Here are basic tools for this process:
-
Digitizing software
-
Good embroidery machine
-
Quality thread
-
Sharp needles
-
Correct stabilizer
You do not need the most expensive tools. You need the right setup and good planning.
Tips for Beginners
Start Small
Do not begin with a big logo. Try names or simple shapes first.
Learn From Each Test
Look at the back of the design. Check tension. Study stitch flow.
Keep Your Machine Clean
Remove lint daily. Oil as the manual says. A clean machine gives better results.
Stay Patient
Embroidery takes time. It is normal to make mistakes. Each mistake teaches a lesson.
Building Trust With Clients
If you run a small embroidery shop, quality matters.
When clients see neat work, they come back. Trust grows from good results.
Working with trusted experts like Embroidery Digitizing Services in USA - Digitizing Buddy can also help small shops handle large or complex orders with confidence.
Final Thoughts
Turning a picture into an embroidery design is not magic. It is a step-by-step process.
Choose the right image. Clean it well. Pick the correct stitches. Use proper stabilizer. Always test before final stitch.
With time and practice, your designs will look smooth and neat. Your machine will run better. Your clients will feel happy.
Embroidery is art made with thread. When you respect the process, the results speak for you.